Welcome to the CASEing the Catty Sunday night bloghop where we use a section of the Catalogue to inspire this weeks projects. Designers can take a layout, a colour combination, or any element as the starting point to create something new. We invite you to tour around the hop and to join in -after all the Catalogue has so many beautiful samples to inspire us all. If you get lost you'll find the full crew here.
This week
Bec is preceding me on the blog so welcome if you have come from her page.


This week
Bec is preceding me on the blog so welcome if you have come from her page.

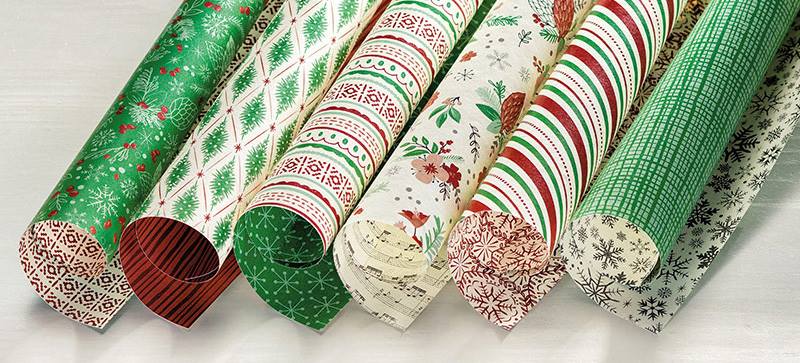
This week we are using the samples from the CHRISTMAS section from pages 26-37.
I was inspired by the gift box made form Music Paper on page 26. So I made a few boxes.

The first was a little tricky but looks pretty, though now I've tied the ribbon it will stay empty for a while...The instructions are from an old blog post in Dutch which even when translated are a bit tricky. - and my box looks slightly different! As it happens I have completely lost the original post but I will publish directions tomorrow with photographs of my construction. But I'm quite happy with it. The music paper I cut to a 9cm strip and the triangles had a base of 6.5cm which I then cut in half vertically through the centre of the base - luckily this music paper doesn't have any words on it and it looks plausible as music from both directions - clever designers!!! There are half the panels with the music paper and half without.
The gorgeous tree tag is made using the beautiful Thoughtful Branches Set which is only available throughout August. I LOVE it- way more than I thought I would. It works so well for Christmas and I think this will be my "go-to" set this year (although the Christmas Catalogue looks very tempting..... but that's another story....)


I then decided to make a simple square box like the picture, but would you believe it I had the box constructed easily but could NOT get the lid to work. So after several attempts I gave up and simply added a strip of music paper 7cm wide at the top. As it happens the little Piccolo fits in there perfectly and a lid would not have suited. The gorgeous Delightful Dijon Striped ribbon is tied in a big loop under the box and has a carry loop at the top. The gold bow is using the satin ribbon and the tag is attached with the gold bakers twine. ( The box is made from Kraft cut to 10.5inches x 10inches and scored at 2.5, 5,7.5, and 10 inches.)

EDITED 01/08 I found the original and have written the instructions. you will find them here
Thanks for looking this week, next on the hop is the lovely Deb who has fitted in so well to the CTC crew in only a few short weeks.
Don't forget we love to see what you create too, and we hold a monthly challenge where you can share with us too.
Thanks so much for looking,
Liz
Wow your boxes are awesome. And the music paper looks amazing! What a fantastic couple of projects!
ReplyDeleteOh, wow! That triangular box looks amazing! Off to check out the instructions....
ReplyDeleteYou must have graduated from bow-making college with honours! Gorgeous, gorgeous, gorgeous! Thats all I can say about your boxes. Well, I could add that I do think all your details, your choice of colours, papers, ribbon just add up to a first class project.youre too clever, Liz!
ReplyDeleteWow Elizabeth! These are amazing, love all the details and the Gold and Delightful Dijon ribbon make for a beautiful bow!
ReplyDeleteFabulous creations Liz - I must give the box a try! Loving the music DSP! Kelly x
ReplyDeleteBoth boxes look great!! And such lovely bows!!
ReplyDelete